
- Proper preparation—cleaning, sanding, and repairing furniture—is the key to a professional-looking finish.
- Choosing the right finish (paint, stain, or clear coat) depends on your style goals and the furniture type.
- Applying thin, even coats and allowing sufficient drying time ensures smooth, durable results.
- Priming before painting improves adhesion, prevents bleed-through, and enhances durability.
- Using the right tools and materials—quality brushes, rollers, sandpaper, and sealants—makes refinishing easier and more effective.
- Avoid common mistakes like skipping sanding, rushing coats, or neglecting sealing to achieve long-lasting results.
- Maintaining refinished furniture with gentle cleaning and periodic touch-ups extends its lifespan and preserves its beauty.
Refinishing furniture may sound intimidating, especially if you have never held a paint scraper or sandpaper before. However, with the right approach, tools, and mindset, transforming worn-out pieces into stylish, functional furniture is easier than most people expect
This guide is designed for DIY enthusiasts who want professional-looking results without professional-level experience. By following proven techniques, avoiding common mistakes, and understanding the materials you are working with, you can confidently refinish almost any furniture piece and enjoy the satisfaction of creating something both beautiful and practical.
Why Should You Learn How to Refinish Furniture?
Learning how to refinish furniture is one of the most rewarding DIY skills you can develop because it blends creativity, practicality, and cost savings into a single project. Many homes are filled with furniture that is structurally sound but visually outdated, scratched, or faded. Instead of replacing these pieces, refinishing allows you to revive them while preserving the quality craftsmanship that newer furniture may not offer. This approach supports sustainable living, reduces waste, and gives you full control over colors, finishes, and styles that match your home.
Refinishing also provides a sense of accomplishment that few home improvement projects can match. Completing a furniture transformation teaches you valuable skills, boosts your confidence, and often inspires you to tackle more advanced DIY projects. Over time, you may even discover that refinishing becomes a profitable hobby through furniture flipping. Whether your motivation is personal enjoyment, sustainability, or budget-friendly home upgrades, learning this craft delivers both practical and emotional rewards.
How to Refinish Furniture Like a Pro: Tools and Materials You’ll Need
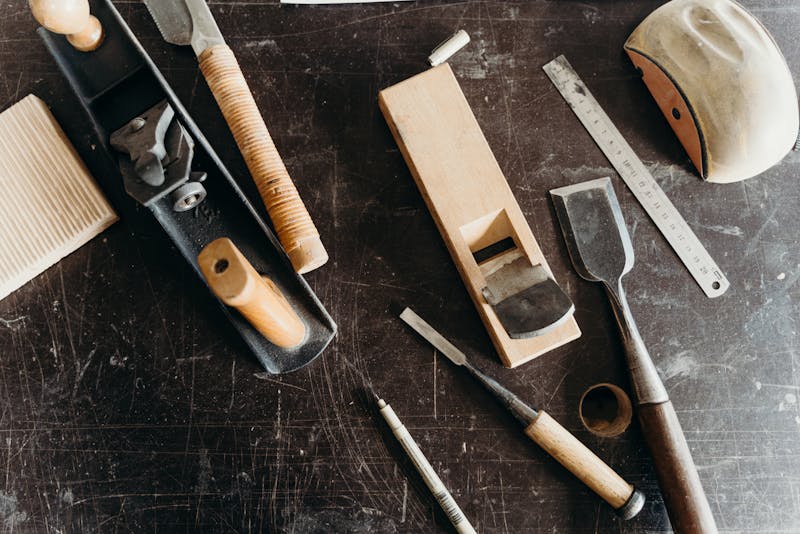
Before you begin any refinishing project, gathering the proper tools and materials ensures smoother results and prevents unnecessary frustration. Many beginners assume refinishing requires expensive equipment, but most projects can be completed using affordable, easy-to-find supplies. Having everything ready before starting allows you to focus on craftsmanship rather than interruptions.
Refinishing furniture is a process that relies on preparation, surface treatment, and finishing products. The quality of your tools directly influences the smoothness of your results. Investing in a few reliable essentials will improve efficiency, protect your furniture, and help you achieve a professional-looking finish that lasts.
Essential Tools
- Medium and fine-grit sandpaper or sanding sponges
- Screwdrivers for removing hardware
- Paint scrapers or putty knives
- Clean lint-free cloths
- Foam rollers and angled paintbrushes
Important Materials
- Wood filler for dents and cracks
- Primer suitable for your surface
- Paint, stain, or clear finish
- Drop cloths and protective gloves
- Cleaning solutions such as mild detergent or mineral spirits
What Furniture Pieces Are Best for Beginners?
Choosing the right furniture to start with significantly improves your chances of success and builds confidence early in your DIY journey. Smaller pieces with flat surfaces are ideal because they require fewer tools, less sanding, and simpler finishing techniques. Nightstands, side tables, chairs, and basic dressers are excellent starting points. These items allow you to practice sanding, painting, and sealing without overwhelming complexity.
Avoid antique or intricately carved furniture during your first projects. Such pieces often require delicate handling, specialized products, and advanced repair skills. By selecting modern or thrifted furniture with simple designs, you reduce the risk of mistakes and make learning more enjoyable. Starting small allows you to develop your technique gradually and move on to more complex projects once you gain confidence.
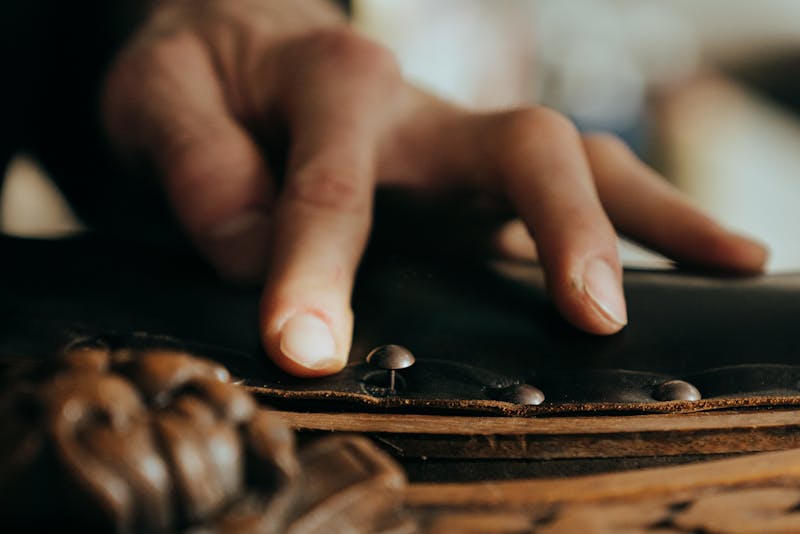
How Do You Prepare Furniture Before Refinishing?
Preparation is the most critical step in refinishing and often determines whether your final result looks professional or amateur. Many beginners rush through this phase, which leads to uneven paint, peeling finishes, and visible imperfections. Taking time to clean wood furniture properly, repair dents, and sand the surfaces creates a smooth foundation that helps finishes adhere properly.
Proper preparation also reveals hidden issues such as cracks, loose joints, or water damage that need repair before painting or staining. Skipping this step may cause your finish to fail prematurely, wasting time and materials. Learning how to clean wood furniture thoroughly ensures that dirt, oils, and old polish do not interfere with paint or stain absorption, giving your refinished piece a flawless, long-lasting finish.
Step-by-Step Preparation Process
- Remove all hardware, drawers, and detachable parts.
- Clean the surface thoroughly using mild detergent and water.
- Repair dents, cracks, or holes with wood filler.
- Sand the surface lightly to remove old finishes and smooth imperfections.
- Wipe away dust with a clean, damp cloth.
Should You Paint, Stain, or Clear Coat?
Choosing the right finish depends on your design goals, furniture type, and level of experience. Each finishing option offers unique benefits and challenges. Paint provides bold color options and easily hides surface imperfections. Stain enhances the natural beauty of wood grain and offers a classic look. Clear coats protect wood while maintaining its original appearance.
For beginners, paint is often the easiest choice because it is forgiving and widely available in various formulas. Staining requires more precision but delivers elegant results for hardwood furniture. Clear coating is best for preserving original finishes or highlighting wood textures. Understanding the differences helps you select the best approach for your specific project.
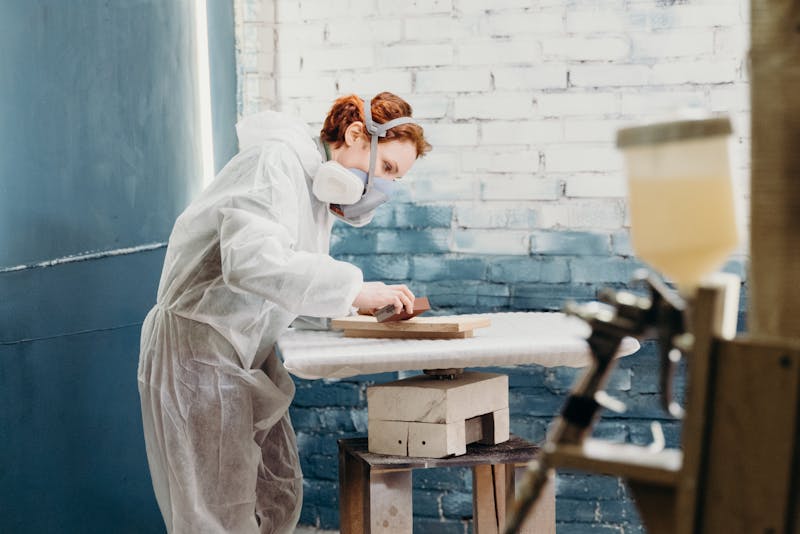
How to Sand Furniture Without Damaging It
Sanding prepares the surface and ensures finishes adhere properly, but excessive sanding can damage veneer or alter furniture shape. Beginners should use light pressure and start with medium-grit sandpaper, gradually moving to fine-grit for smoothing. Sand along the grain of the wood to prevent scratches and uneven textures.
Using sanding sponges for curved areas improves control and prevents over-sanding. Vacuum or wipe away dust frequently to inspect your progress. Taking your time during this step results in a smooth surface that makes the finishing process easier and more professional-looking.
How to Apply Primer for Long-Lasting Results
Priming is essential when painting furniture, especially when covering dark colors or stained surfaces. Primer seals the wood, prevents bleed-through, and creates an even base for paint. Skipping primer may lead to patchy results and reduced durability.
Apply primer in thin, even coats using a foam roller for flat surfaces and a brush for edges. Allow each coat to dry completely before lightly sanding and applying the next layer. Proper priming ensures better paint adhesion and a smoother final finish.
Best Techniques for Painting Furniture Smoothly
Achieving a smooth finish when refinishing depends on both preparation and application. Many DIY enthusiasts wonder how to paint furniture without leaving streaks or brush marks. Using thin, even coats with the right tools—foam rollers for flat surfaces and angled brushes for edges—makes the process much easier.
Allow sufficient drying time between coats and lightly sand with fine-grit sandpaper to remove dust particles. Applying two to three thin coats of paint usually delivers the best results. By knowing how to paint furniture properly, even beginners can achieve professional-quality results and create furniture that looks stylish and durable.
How to Seal and Protect Your Finished Furniture
Sealing your furniture protects it from moisture, scratches, and daily wear. Clear polyurethane, wax, or polycrylic finishes are popular options depending on the look you want to achieve. These coatings preserve your hard work and extend the life of your furniture.
Apply sealant in light coats and allow proper curing time before use. Avoid placing heavy objects on newly sealed furniture until fully cured to prevent impressions and damage.
How to Repair and Restore Damaged Furniture Before Refinishing
Even well-made furniture can show signs of wear, such as scratches, dents, cracks, or loose joints. Addressing these issues before refinishing ensures a smooth, professional-looking result and prevents further damage. Beginners often overlook minor imperfections, but repairing them first will make a significant difference in the final appearance.
Key Steps to Repair Furniture:
- Fill dents and scratches: Use wood filler or putty to smooth out surface imperfections.
- Tighten loose joints: Apply wood glue and clamps to reinforce wobbly parts.
- Sand repaired areas: Smooth the filler and glue once dry to match the surrounding surface.
- Inspect veneer or laminate: Patch small chips with matching wood putty or touch-up markers.
Taking the time to restore damaged areas before painting or staining will help your furniture look like new and ensure your refinishing efforts last longer.
Common Mistakes Beginners Should Avoid
Avoiding common mistakes saves time, money, and frustration. Many DIY enthusiasts make similar errors during their first refinishing projects.
Common Pitfalls
- Skipping surface preparation
- Applying thick coats of paint
- Ignoring drying times
- Using low-quality brushes
- Forgetting to seal the final finish
Learning from these mistakes helps you refine your technique and improve with every project.
How to Maintain Refinished Furniture
Maintaining refinished furniture ensures it remains beautiful for years. Use gentle cleaning solutions and avoid abrasive sponges. Dust regularly and use coasters to prevent moisture damage. Periodic touch-ups keep your furniture looking fresh and extend its lifespan.
Turning Furniture Refinishing Into a Profitable Hobby
Once you gain experience, furniture refinishing can become a profitable side project. Thrift stores, garage sales, and online marketplaces offer affordable furniture perfect for flipping. With proper refinishing, you can resell pieces at significantly higher prices.
This hobby not only supports sustainable living but also provides creative and financial rewards. Many DIY enthusiasts find satisfaction in transforming forgotten furniture into sought-after home décor.